前言
博客成功从 Typecho 迁移到 Hugo 啦!
借此机会分享一次经验,如何搭建Hugo博客系统呢?
hugo的官网:https://gohugo.io/
QuickStart快速开始:https://gohugo.io/getting-started/quick-start/
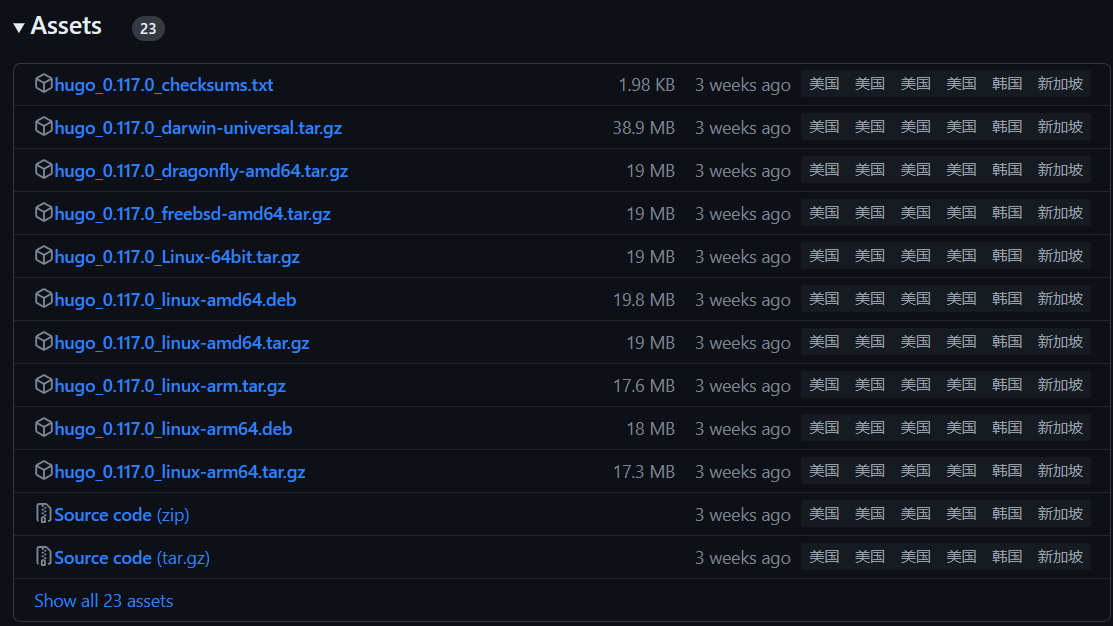
Release:https://github.com/gohugoio/hugo/releases/
Hugo 是一个用 Go 编写的静态网站生成器,2013由 Steve Francia 原创
自 v0.14 (2015年) 由 Bjørn Erik Pedersen 主力开发,并由全球各地的开发者和用户提交贡献。Hugo 以 Apache License 2.0 许可的开放源代码项目
本文也介绍如何从Typecho移植到Hugo的方法。
开始
本文使用系统 Debian 11
前往 Release 下载最新稳定版
可以使用
wget https://github.com/gohugoio/hugo/releases/download/v0.117.0/hugo_0.117.0_linux-amd64.tar.gz
来下载 Hugo 的二进制文件
安装
二进制安装
下载好 Hugo 的二进制文件后,解压缩,可以使用:
tar -xzvf hugo_0.117.0_linux-amd64.tar.gz
来解压缩tar包,然后将 Hugo 移至 /usr/bin 目录来使命令全局生效。
然后给文件赋权 chmod 755 /usr/bin/hugo
然后输入 hugo version 指令,如果提示:
root@RainYun-ldPOP6Xg:~# hugo version
hugo v0.117.0-b2f0696cad918fb61420a6aff173eb36662b406e linux/amd64 BuildDate=2023-08-07T12:49:48Z VendorInfo=gohugoio
那么恭喜你,安装完毕!
apt-get 安装
这个应该是最简单的安装了,但是不推荐,通常版本都不是很新。
输入指令:
sudo apt-get update
sudo apt-get upgrade
sudo apt-get install hugo
然后输入 hugo version 指令,如果提示如上一样,显示了版本,则安装成功!
创建站点
使用指令 hugo new site <你的网页文件夹名字>
如提示如下提示,则表示创建成功!
root@RainYun-ldPOP6Xg:~# hugo new site cnm
Congratulations! Your new Hugo site is created in /root/cnm.

Just a few more steps and you're ready to go:

1. Download a theme into the same-named folder.
   Choose a theme from https://themes.gohugo.io/ or
   create your own with the "hugo new theme <THEMENAME>" command.
2. Perhaps you want to add some content. You can add single files
   with "hugo new <SECTIONNAME>/<FILENAME>.<FORMAT>".
3. Start the built-in live server via "hugo server".

Visit https://gohugo.io/ for quickstart guide and full documentation.
然后就可以选择增加博客主题了,如上提示可以看到,给出了一个链接,就是博客主题的链接。
前往 https://themes.gohugo.io/ 找到心仪的主题然后克隆至网站目录。
本文选择 PaperMod 主题进行安装。
输入指令:
sudo git clone https://github.com/adityatelange/hugo-PaperMod.git themes/PaperMod
等待克隆完毕,即可进行下一步
使用 nano 在 hugo.toml 里添加一条配置:
nano hugo.toml
然后再复制一下配置到 hugo.toml 里
theme = "PaperMod"
然后修改baseurl为你自己的url
然后 Ctrl+O + Enter + Ctrl+X 完成编辑。
其余自己设置。
接下来,构建你的网页,让 Hugo 构建可以显示你博客页面的 Html 页面
可以通过使用指令:
hugo
来构建网页,然后可以使用 hugo server 指令来打开 Hugo 的Web服务器
有关于 hugo server 的指令帮助有
-b, --baseURL url        默认绑定Url(例如:https://whohh.cn)
--bind string            服务器将绑定到的IP(默认为“127.0.0.1”)
-p, --port int           定义Hugo将监听的端口(默认为 1313)
如果你想要更多帮助,请输入:
hugo server --help
将会有更多帮助等着你!或者访问官网寻求答案! https://gohugo.io/
可以输入指令:
hugo server --bind=0.0.0.0 --port=1313
快捷启动 Hugo 的Web服务器
当提示如下内容时:
root@RainYun-ldPOP6Xg:~/cnm# hugo server --bind=0.0.0.0 --port=1313
Watching for changes in /root/cnm/{archetypes,assets,content,data,layouts,static}
Watching for config changes in /root/cnm/hugo.toml
Start building sites …
hugo v0.117.0-b2f0696cad918fb61420a6aff173eb36662b406e linux/amd64 BuildDate=2023-08-07T12:49:48Z VendorInfo=gohugoio


                   | EN
-------------------+-----
  Pages            |  3
  Paginator pages  |  0
  Non-page files   |  0
  Static files     |  0
  Processed images |  0
  Aliases          |  0
  Sitemaps         |  1
  Cleaned          |  0

Built in 13 ms
Environment: "development"
Serving pages from memory
Running in Fast Render Mode. For full rebuilds on change: hugo server --disableFastRender
Web Server is available at http://localhost:1313/ (bind address 0.0.0.0)
Press Ctrl+C to stop
恭喜你!启动成功!并且绑定了 0.0.0.0 的IP和 1313 的端口,并且本地还可以使用 http://localhost:1313/ 来进行访问。
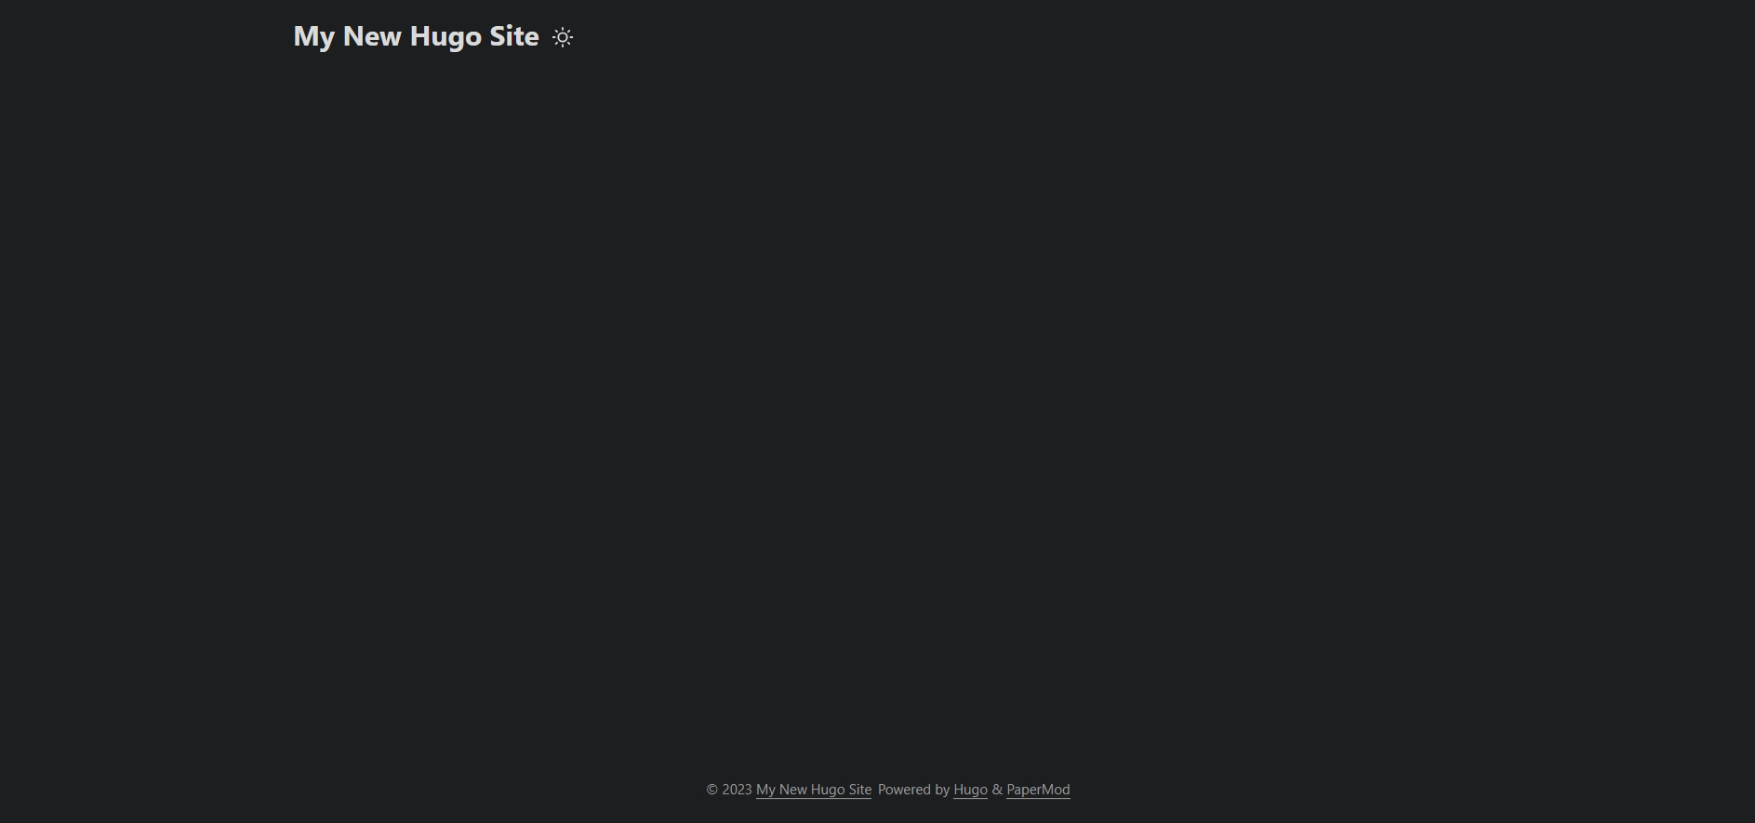
当你访问成功时,则会显示默认页面,例如PaperMod的页面是
这时候就完毕了!接下来就交给你自己发挥了!